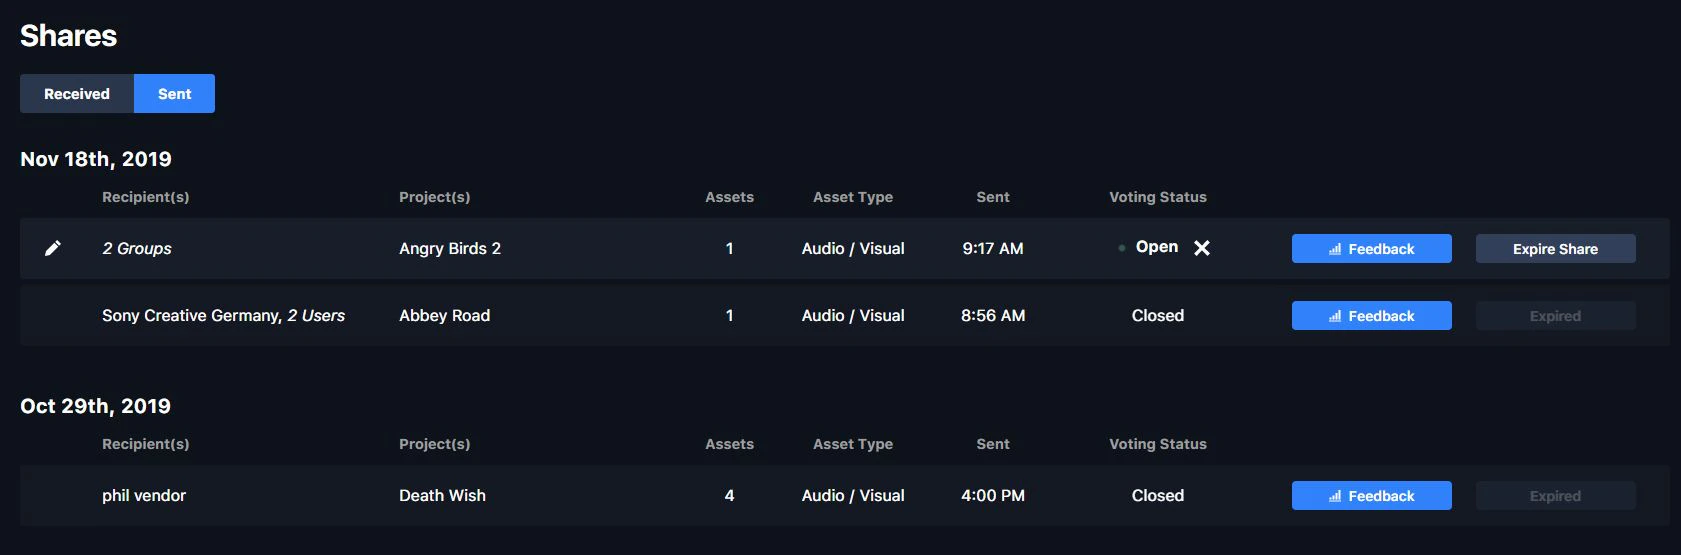
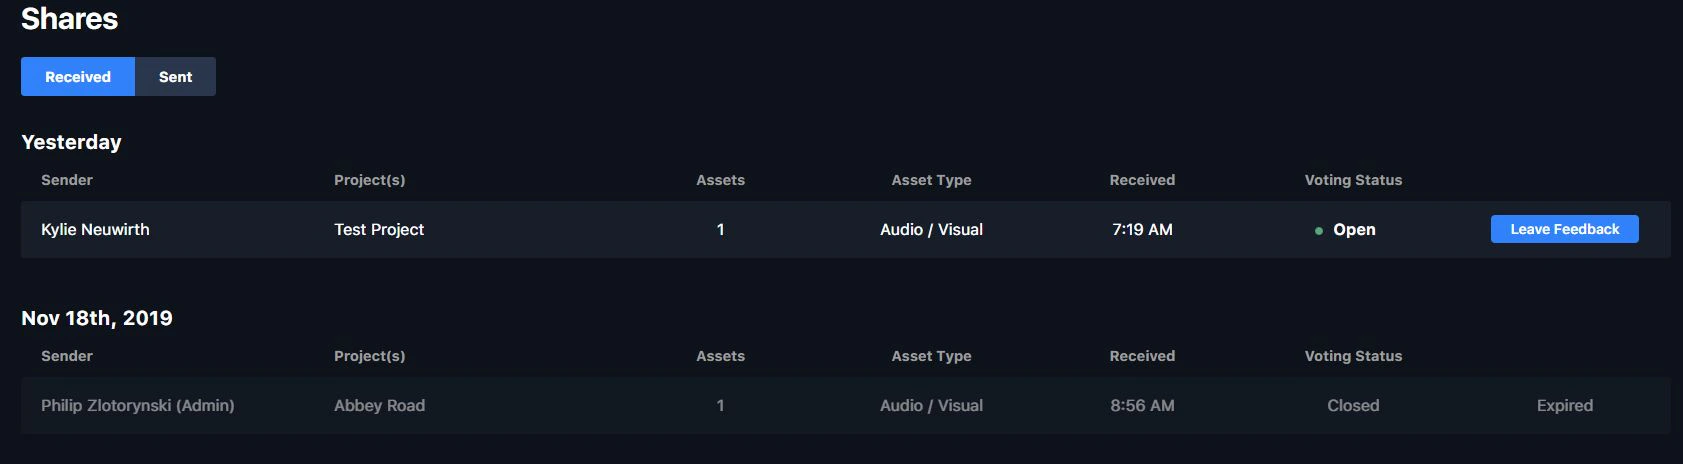
Accessing shares
The Shares Dashboard icon is in the left navigation bar. Open it to review shares you’ve sent or received — received shares can be viewed as playlists.
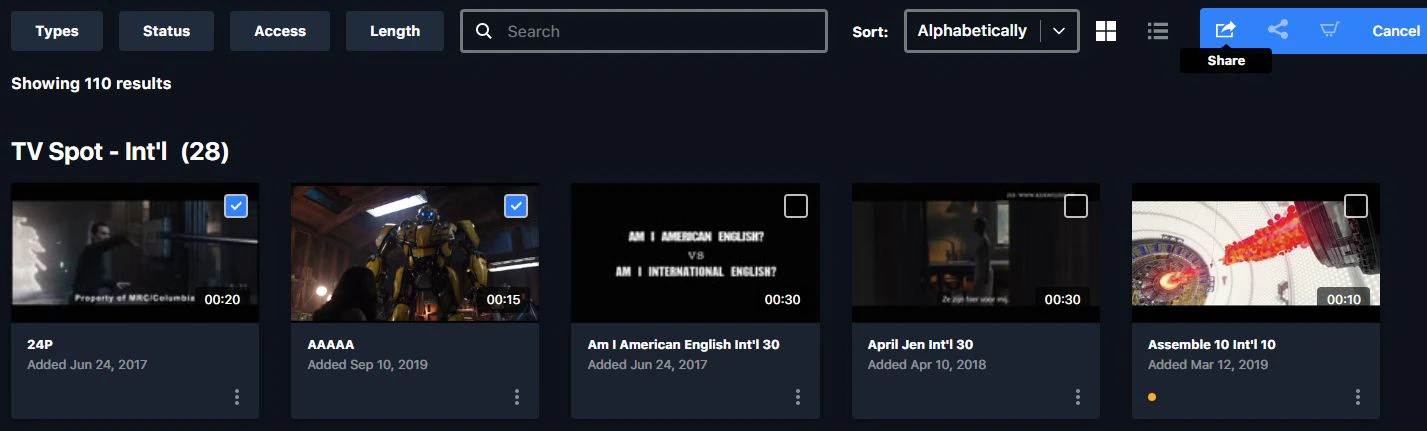
Adding assets to the Share Queue
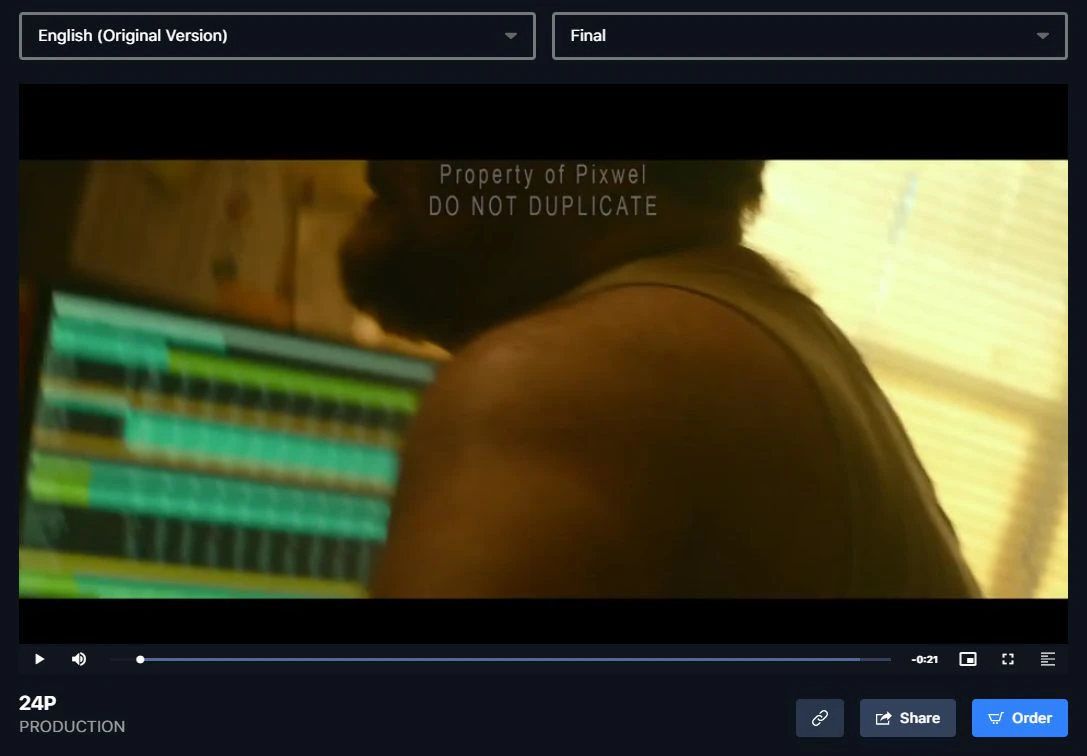
There are three ways to add an asset to your Share Queue:- The Share button below the asset preview.
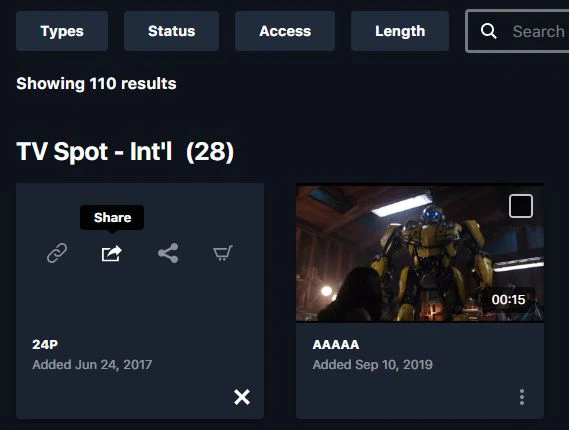
- Quick actions on an asset thumbnail.
- Batch select on asset thumbnails, to add several at once.
Creating a share

- Add users or groups to share with.
- Set download access.
- Enable voting, if your permissions allow.
- Pick the languages to include from the Languages dropdown — you can only share languages you have access to.
- Drag thumbnails to arrange them into a custom playlist order.
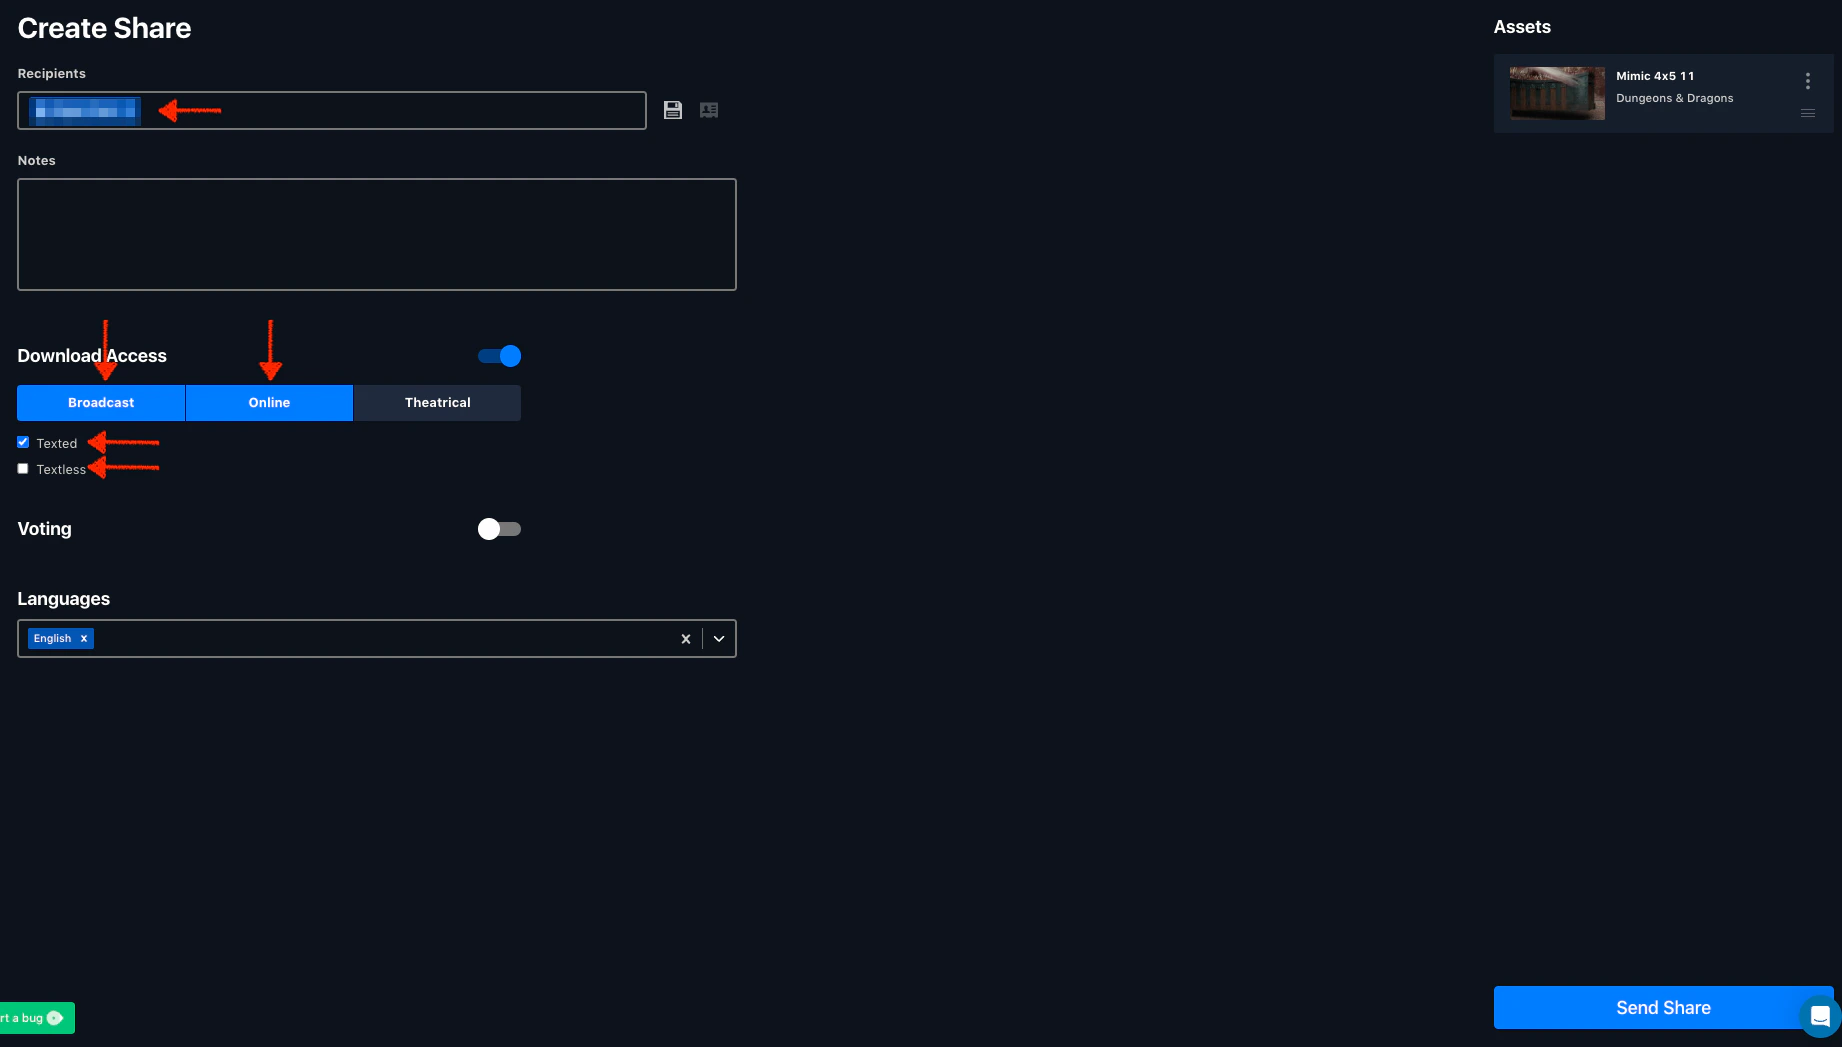
You can’t share assets, files, or languages outside your own permissions. What you’re able to share mirrors what your group can access.
Managing shares
From the Shares Dashboard you can edit a sent share’s recipients, notes, and permissions after it goes out. Received shares appear as playlists you can view and act on.